Geoserver Layer Preview
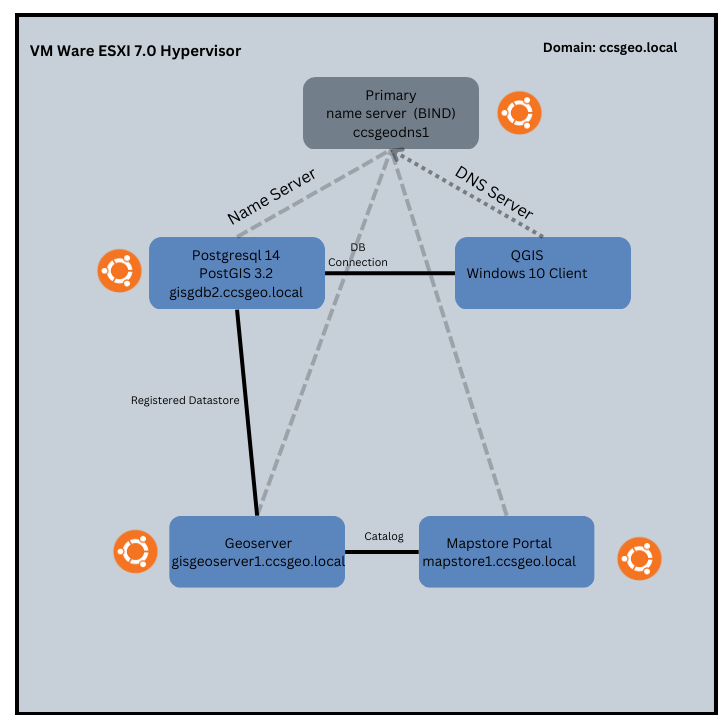
In Part 2 of our series on deploying an Open Source GIS Stack, we went through how to install PostgreSQL with PostGIS in order to create a repository for our geographic data. Now, we need a way to serve out that data to our (theoretical) clients. In this blog, I am going to walk through the process of installing Geoserver and configuring access from client machines. In Part 3.5, I will go through how to add our PostgreSQL database as a data source and how to access our published data from QGIS.
Installation
First, download the Linux binary from the Geoserver website:
https://geoserver.org/download/
I chose to download the 2.24.1 version to my local machine and then use the scp command to copy the .zip file over to my /home directory on my Linux machine.
Next, we need to ensure that we have the correct Java Runtime Environment. I used the command from the following documentation to install JRE:
$apt install default-jdk -y
When I check the Java version with java –version I get:

As suggested in the installation docs for Geoserver, I used the mkdir command to create a new folder in the /usr/share directory:
/usr/share/$ mkdir geoserver
Then, use the cp command to copy the .zip file to this directory and unzip it with:
$unzip geoserver-2.24.1-bin.zip
Set an environment variable to point to the Geoserver installation folder:
$echo “export GEOSERVER_HOME=/usr/share/geoserver” >> ~/.profile. ~/.profile
If you need to, you can confirm that the environment variable is set correctly using the printenv command:

*NOTE: If you do not set the environment variable correctly, at startup Geoserver will attempt to access the data directory in an incorrect location which will prevent it from starting properly:
Incorrect:

Correct:

Finally, ensure your user owns the directory structure you created:
$sudo chown -R USER_NAME /usr/share/geoserver/
Configuration
Now that we have everything installed, we still need to be able to access Geoserver from the client machine. In order to do this, we need to modify the web.xml file in /usr/share/geoserver/webapps/geoserver/WEB-INF to enable cross origin requests (CORS). You can use cd to access the location above and access the file with nano:
/usr/share/geoserver/webapps/geoserver/WEB-INF$ sudo nano web.xml
Scroll down to the CORS section and uncomment out the section for CORS in Jetty so that it looks like this:

As noted in the comment, there is another section further down that must also be uncommented:

*NOTE: Make sure you have your comment syntax right. If there is a problem with the syntax in this file, Geoserver will not start.
Now, we should be able to start up Geoserver. From the usr/share/geoserver/bin directory, we can:
usr/share/geoserver/bin$ sh startup.sh
You should now be able to reach Geoserver in a web browser from your client machine at:
<ip address of server>:8080/geoserver
As I configured the machine where I installed Geoserver with a domain name, I can reach Geoserver at gisgeoserver1.ccsgeo.local:

You can also login using the default credentials: admin/geoserver.
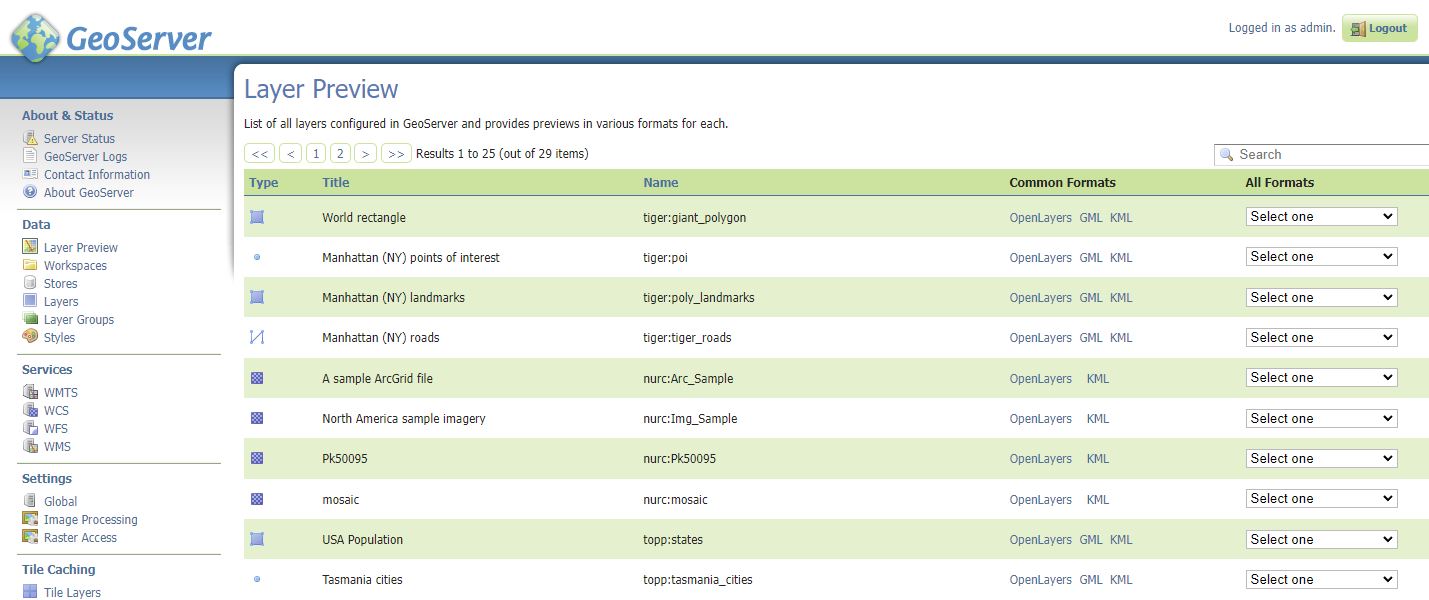
Success!
Startup Configuration
If you are like me, you may be calling the startup.sh command from an ssh connection to the machine where Geoserver is installed. This means that once you close the command prompt where you called startup.sh, the program will stop. To get around this and ensure Geoserver is always running, we need to configure a Systemd service file. Use cd to navigate to /usr/lib/systemd/system and use nano to create a new file in this location:
/usr/lib/systemd/system$ nano geoserver.service
Add the following lines:
[Unit]
Description=GeoServer Service
After=network.target
[Service]
Type=simple
User=username
Group=username
Environment=”GEOSERVER_HOME=/usr/share/geoserver”
ExecStart=/usr/share/geoserver/bin/startup.sh
ExecStop=/usr/share/geoserver/bin/shutdown.sh
[Install]
WantedBy=multi-user.target
Save and close the file. Now:
$systemctl daemon-reload
And set it up to always start at server reload:
$systemctl enable –now geoserver
You can always check the status by running:
$systemctl status geoserver
Confirm that Geoserver is running and you should be good to go!
Conclusion
In this blog, we walked through how to install Geoserver and configure it for access from client machines. Stay tuned for Part 3.5 where I will walk through connecting our PostgreSQL database to Geoserver and publish layers that we can access from client applications.
Resources:
https://docs.geoserver.org/maintain/en/user/installation/linux.html


