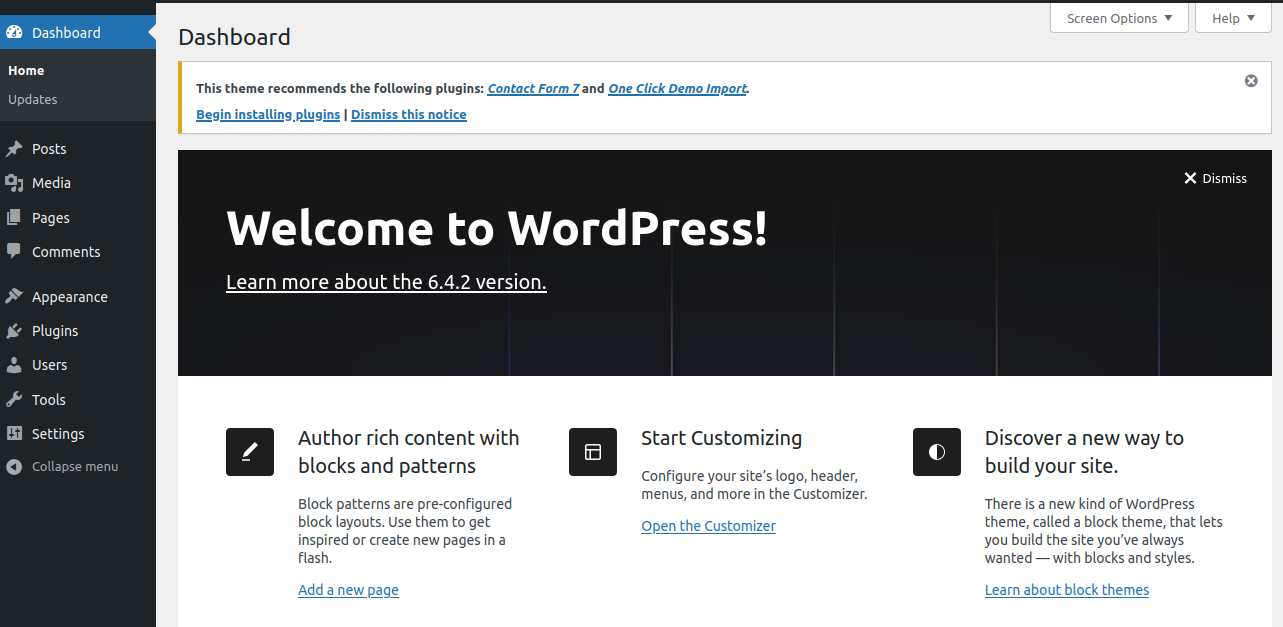
During the creation of this blog I had some trouble deciphering how to enable https. I initially created the site by using a WordPress template from Akamai.
I highly recommend Akamai/Linode as you can host your WordPress site on a cost-friendly shared instance for $5.00 a month. This price is hard to beat for your hosting your own website and gives you additional control and configuration options.
The documentation I linked above is great for setting up WordPress in just a few clicks. However during the initial configuration stage I did not specify a custom domain for the site. Due to this, a domain is applied for you and the Apache web server comes pre-configured with virtual hosts and URLS. Virtual hosts are essentially files that determine which ports and which domains your website is accessible by. I had previously purchased my domain name through Google Domains and had assigned an A record to point my domain to the IP address of the virtual machine I created in Linode. In order to enable https for my website I first needed to add my domain as a virtual host in the Apache web server powering my WordPress site.
In order to do this, I came across this great documentation from Akamai:
https://www.linode.com/docs/guides/enabling-https-using-certbot-with-apache-on-ubuntu/
As noted in the requirements/ you need to have the Apache web server configured for your domain:

This is the part I didn’t know how to configure, as there are already virtual hosts configured for the server. How to get around this?
First I needed to check what was configured already:
apachectl -S
This utility is handy as it returns the currently configured hosts and their .conf file locations. Copy these file locations to your Text Editor.
Now you can us the cp command in Linux to copy both original host files to new files in the same file directory:
/etc/apache2/sites-enabled/
Set the name of the new files to match the convention of the previous files but with your new domain name:

Open each of the new files using a Text Editor and ensure all of the paths and domains point to your new domain. Also for your HTTPS file you can simply remove the entries for the SSL Certificates as these will be added back in during the certbot process.

Once your new files have been created you need to enable the sites:
# a2ensite <confilename>
Then restart the apache service:
# systemctl reload apache2
The only additional issue is that the html files for the site are still in the folder for the previous hostname located here:
/var/www/hostname>/public_html
You will need to create a new directory in the /var/www/ folder with the name of your domain with a sub-folder called public_html. You can then copy of the entire contents of the public_html folder from the previous domain to the new folder you have you created:
# cp -a olddirectory> newdirectory>

Now you can run certbot! I used the following documentation to install and run Certbot:
https://www.linode.com/docs/guides/enabling-https-using-certbot-with-apache-on-ubuntu/
# sudo certbot –apache –v
Follow the prompts in the command line. Be sure to only select the sites that you have just added as virtual hosts. The virtual hosts from the initial installation have already been configured.
Once certbot is complete you can disable the original sites using:
# a2dissite <confilename>
The final step is to update your WordPress site to point to the new domain!:

Hopefully this works for you! Good luck securing your website!


